Rub-on transfers
How to Apply Rub-On Transfers
Clean, position, rub and peel. Most transfers take under a minute once you know the steps.
Rub-on transfers
Clean, position, rub and peel. Most transfers take under a minute once you know the steps.
4.9 stars on Yelp · 4.6 on Google · 40+ years making rub-ons
We design it
Free help with layout and files
We print it
Printed in our Los Angeles shop
Pick up or ship
Or our crew installs it
Fast turnaround
Most jobs ready in 1 to 3 days
Step 1
Wipe with rubbing alcohol. It must be clean, dry and free of dust and oil.
Step 2
Trim around the design, place it face up and tape one edge.
Step 3
Burnish the whole design with firm, even strokes.
Step 4
Lift the sheet at a low angle. If any part stays, lay it back and rub again.
Then: lay the backing paper over the design and burnish once more to set it.
Most transfers take under a minute once you know the steps.
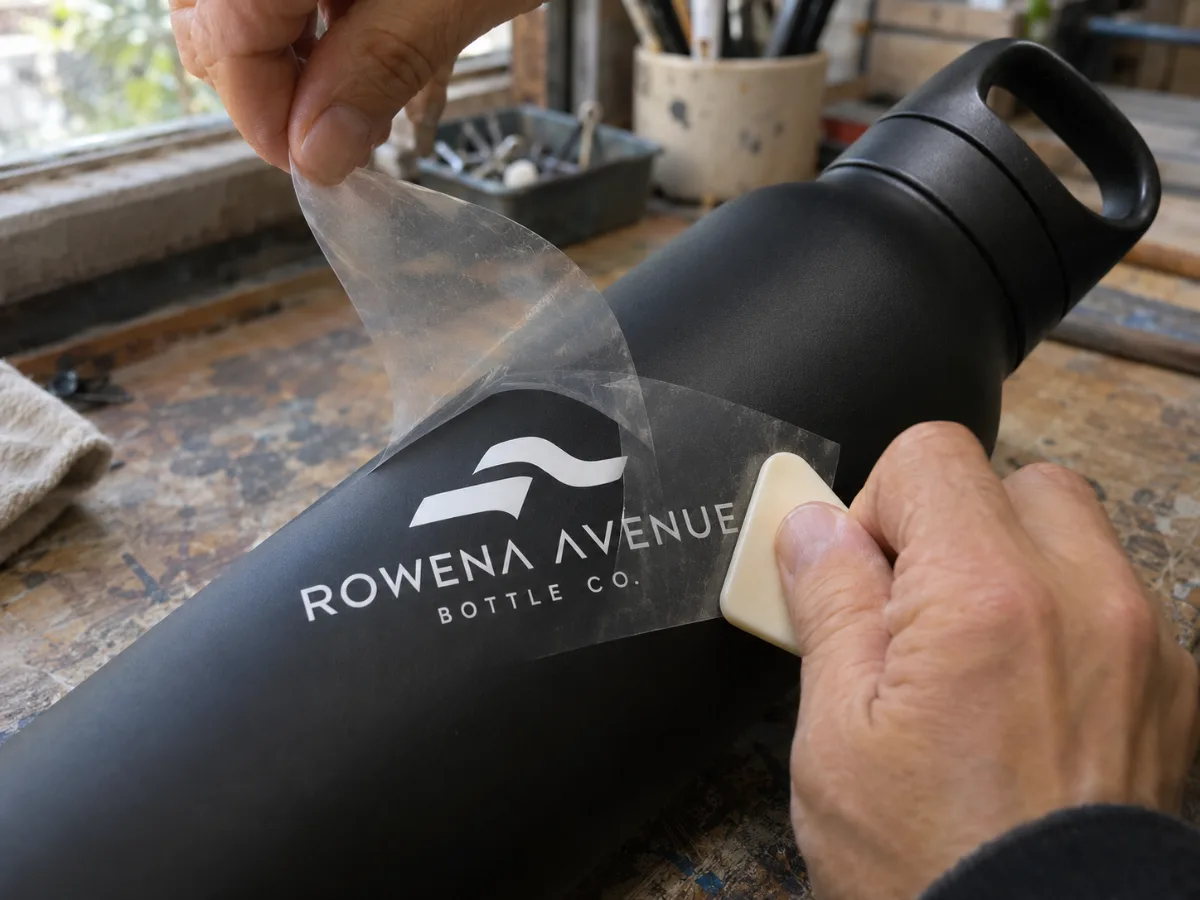
A burnisher or a smooth, rounded tool. Avoid sharp points that can tear the sheet.
The area wasn’t rubbed hard enough. Lay the sheet back down, line it up and rub that spot again.
Yes. Rub small sections at a time and keep the sheet tight against the curve.
Usually not. For heavy wear, a clear coat can add protection. Test it first.
Yes. Ask for a test sample before ordering for a hard-to-apply surface.
(310) 323-5600
cliff@cliffdigital.com
Cliff Digital Office
1143 N Stanford Ave Suite 103
Los Angeles, CA 90059
Monday to Friday, 8 AM to 5 PM
Weekend installs by prior arrangement

Large format printing and installation in Los Angeles. Vehicle wraps, wall and window graphics, signs and displays.
© 2026 Cliff Digital. Large format printing and installation in Los Angeles.
Privacy Policy | Terms and Conditions | Cookies Policy | Refund Policy